Your newly purchased LIFECORE floors are prefinished engineered hardwoods with a protective UV hardened finish for lasting beauty.
With today’s advances in wood flooring and finishes, cleaning your hardwoods has never been easier. Regular maintenance requires little more than dusting with a soft dry microfiber mop, sweeping with a soft bristle broom, or vacuuming with a soft floor attachment if your wood floor includes a beveled edge that could collect debris. We recommend you periodically clean your floors using products such as Bona floor cleaners, or a quality product that is a prefinished wood floor cleaner. For the best results, follow the instructions below. Using the wrong cleaners or method can damage your floor and void your warranty.
NOTE: It’s important to understand that when you clean your hardwood floors, you are not actually cleaning the wood—you are cleaning the UV finish on the wood. This finish is the protective layer on your hardwood floors.
Important Tips for Hardwood Cleaning and Maintenance
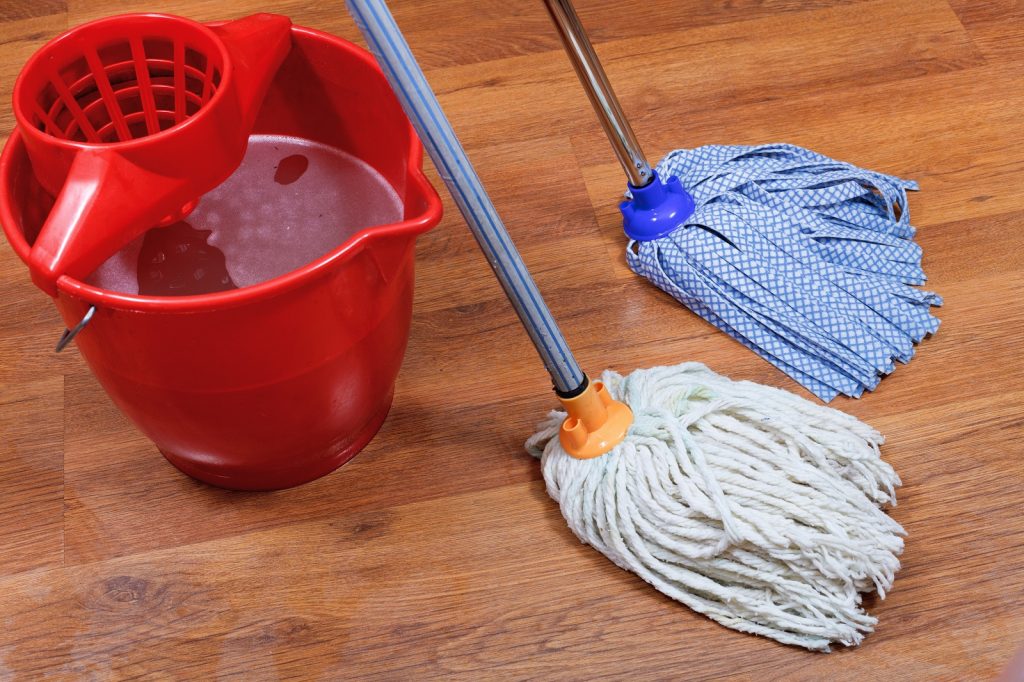
Do not wet-mop your hardwood floor.
- Do not use self-polishing acrylic waxes. These will cause wood to become slippery and appear dull quickly.
- Do not wet-mop your hardwood floor. Standing water can dull the finish, damage the wood, and leave a discoloring residue.
- Do not use vinegar and water to clean your hardwood floors. Using vinegar and water as a homemade cleaning solution can have a negative effect on your hardwood floor. Vinegar is an acid that will break down the finish on the surface of your floors, and over time it will reduce the shine and leave a dull appearance. Using vinegar and water to clean floors can also lead to an excessive amount of water on the floor, which can cause swelling and discoloration.
- Do not wax your hardwood floor. If after many years you want to refinish an area, consult a certified professional floor refinisher. Bona has products for refinishing but they must be applied by a professional.
- Do dust your hardwood floors. Dust and hardwoods don’t mix. Particle debris, such as dust, can scratch and damage a floors protective finish. To make matters worse, dust can be a health hazard for those with allergies and asthma. While there is no such thing as a 100% dust-free home, there are many things that can be done to minimize dust and keep floors looking beautiful. Learning how to dust hardwood floors takes minimal time and effort and the rewards are great.
- Do wipe away spills or sticky spots as soon as they happen with a damp cloth and then dry the area with a clean, soft cloth. Use a Bona cleaner or a pH neutral spray cleaner. NEVER wet mop, clean with oil soap, strong ammoniated or abrasive cleaners, use steel wool or scouring powder, coat with acrylic shine cleaner, or apply paste or liquid wax to your hardwood floors.
- Do not tackle tough spots such as oil, paint, markers, lipstick, ink, tar, or cigarette marks without consulting a professional flooring consultant. Always avoid allowing liquids to stand on your floor.
- Do vacuum using the hard floor attachment (not the beater bar), dust mop, or sweep the floor to minimize abrasive grit, debris, and dirt.
- Do not use any type of buffing machine.
Purchase the Right Tools for the Job
An easy way to dust hardwood floors depends on the tools to get the job done. While there are many different devices and tools that can help dust your hardwood floor, the top three are vacuums, brooms, and microfiber mops. Within each category there are many different types and variations.
Some people like to sweep or dry mop first and then vacuum. Others prefer to sweep, vacuum, then dry mop. Either way, finding the perfect technique for you will require at least one of the tools mentioned above.
Looking for the best way to clean hardwood floors? What may work for some parts of your home might not be the perfect match for your floors. Finding an effective way to get the best clean for your hardwood floors is an important step in hardwood floor care.
The Best Way to Clean Hardwood Floors
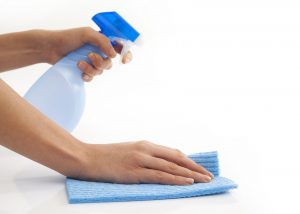
Use a pH neutral cleaning solution that will be gentle on your hardwood floors
Learning how to clean and maintain hardwood floors is essential for protecting your beautiful investment. Since dirt and grime can’t hide on hardwood floors like they can on carpet, cleaning your floors may seem “high maintenance.” However, once you establish this simple routine, it won’t seem so difficult.
When it’s time to clean your floors, remember these hardwood tips:
- Prep your floor for cleaning by sweeping or dust-mopping to get rid of large particles of dirt and debris.
- Use a pH neutral cleaner that will be gentle on your hardwood floors.
- Use a fine spray mist to clean your floor in sections. Avoid putting too much liquid on your floors.
- Use a microfiber mop. Traditional mops can work, but they can leave excess water on your floors.
Remember, a specially formulated hardwood floor care cleaner is a smart way to maintain the beauty and look of your floors. (Caution: some micro mops on some hand scraped floors will grab and splinter edges.)
Daily Schedule – Dust/Sweep
Giving your floors a good dusting with a microfiber mop or cloth will be your best daily defense against scratches and surface damage. Microfiber cleaning pads often use static electricity to trap dirt, particles, and other household allergens. Using a broom to can be effective as well, but using a broom only pushes the dirt around. When you want to clean your floors without damaging them, avoid lifting your microfiber mop up off the floor when you clean—this way you keep the dirt trapped on the pad.
Weekly Schedule – Vacuum/Mop
Weekly maintenance will deal with the harder to reach areas that a daily dusting can’t reach. Vacuums and wet mops are ideal for getting dirt out of trouble areas like corners and the spaces between each piece of hardwood. However, using vacuums and mops come with extra caution when you want to clean floors without damaging them. If your vacuum has a beater bar, make sure it doesn’t hit the bare floor. Also, the wheels on a vacuum might damage the floor.
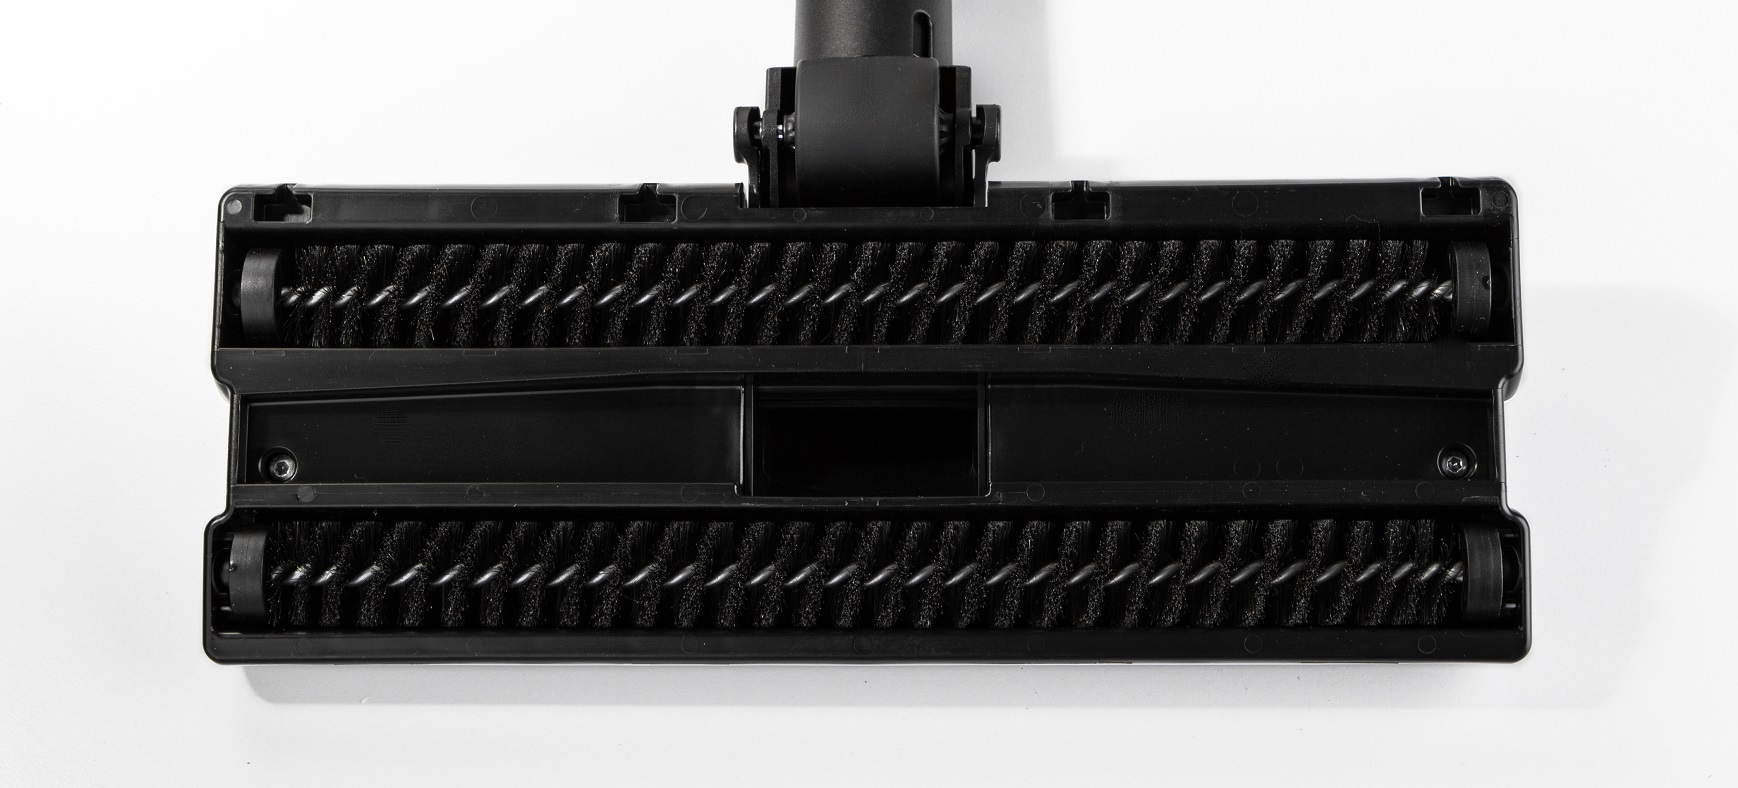
Shown here is the proper vacuum cleaner head for hardwood floors. Do not use a head with a beater bar.
When you’re using a mop, avoid putting excess liquid on your floor. Lightly misting your floor with a hardwood floor cleaner will be enough to give it a great clean. A gentle touch is one of the best ways to clean hardwood flooring.
Defend Your Home and Hardwoods Against Dust
The best way to clean hardwood flooring starts with a good defense. Consider these tips to help reduce the amount of dust in your home:
- Use rugs. Placing rugs at entryways and other traffic areas will help to keep debris in a general area. Having family and guests remove their shoes also eliminates another source of dirt and dust.
- Clean often. Set up a maintenance schedule and stick with it. Many people dust their floors daily. When you clean more often, you reduce the chances of dust accumulation.
- Change your filters. Changing vacuum filters and furnace filters will help keep these appliances working at an optimal level while decreasing the presence of dust in the air.
- Deal with problem areas. Be on the lookout for places where dust loves to build up. Be sure to clean drapes/curtains, underneath appliances, ceilings, walls, and electronics to reduce the spread of dirt and dust in your home.
The key to keeping hardwood floors dust free is to have a realistic approach with the proper tools. While dusting hardwood floors might not be everyone’s favorite thing to do, it is a relatively inexpensive way to protect the investment of having great looking hardwood floors.
Finding a Technique That Works: Dusting
When it’s time to start dusting, these tips can help make this task relatively quick and painless.
- Make sure the floor is the last to be dusted. In general, dusting should be done from the ceiling to the floor. That way, you’re not doing double work when dust from higher places falls onto your previously clean floor.
- Start farthest from the room entrance. Work your way towards room entrances—they are high-traffic areas and the general source for most dirt and debris in the room.
- Break up the room in sections. Divide the room up mentally for an efficient time dusting. Breaking up the room in a grid can help you keep track of the work you’ve done. Use long, deliberate movements to better maximize your energy and cleaning effectiveness.
Protecting Your Floors from Life and Pets
- Do use quality area rugs and doormats both inside and outside doorway entrance areas to prevent dirt, sand, grit, and other substances such as oil, asphalt, or driveway sealer from being tracked onto your floor. This will protect it from scratching. If you have hardwoods in the kitchen, place a mat under the sink or other areas prone to spills. The rugs must be made of a breathable material to prevent moisture entrapment. Do not use rubber or foam backed plastic mats as they may discolor or leave an imprint on the floor. To prevent slippage, use an approved vinyl rug underlayment.
- Do use felt protectors, casters, or caster cups on the legs of furniture to prevent damage to the flooring. Use wide bearing leg bases, barrel type caster wheels, rubber rollers to minimize indentations and scratches from heavy objects. As a rule of thumb, the heavier the object, the wider the floor protector should be. Make certain to keep felt protectors clean and well maintained as dirt and debris can become imbedded on the pad and act like sandpaper and damage the flooring surface. Replace often.
- Do avoid walking on your wood floors with cleats, sports shoes, and high heels. A 125-pound woman walking in high heels has an impact of 2,000 pounds per square inch. An exposed heel nail can exert up to 8,000 pounds per square inch. This kind of impact can dent any floor surface.
- Do not slide furniture on wood flooring. When moving items around it is best to pick up the furniture completely to prevent scratches. Use a dolly when moving heavy furniture or appliances. But first, put down a sheet of quarter inch plywood or Masonite to protect the floor and help prevent denting. Carpet or cardboard is not adequate to prevent surface compression scratches. Never try to slide or roll heavy objects across the floor to avoid denting.
- Maintain a normal indoor relative humidity level between 35%-55% and a temperature of 60o-80oF throughout the year, to minimize the natural expansion and contraction of wood.
- Heating Season (Dry): A humidifier is recommended to prevent excess shrinkage due to low humidity levels. Wood stove and electric heat tends to create very dry conditions. Minor gapping between wood planks during the heating season is a normal occurrence with hardwood flooring installed over radiant heat.
- Non-Heating Season (Wet): An air conditioner or dehumidifier or periodically turning on your heating system can maintain humidity during the summer months. Avoid excessive exposure to water during periods of inclement weather.
- Do keep pets’ nails trimmed to minimize finish scratches and place water bowls on protective mats.
- Do protect your floor from direct sunlight. LIFECORE UV finishes help to protect hardwoods from fading, but over time natural and artificial light could discolor the floor. Use curtains and UV resistant film on large glass doors and windows to help.
- Rearrange area rugs and furniture periodically so the floor ages evenly. UV sunlight will soften the tone of different species of hardwood to varying degrees.
Repairing Your Hardwood Floors
- Minor damage can be easily repaired by finishing putty available in blending colors.
- Retain several planks for future repairs.
- Major damage will require board replacement. If using the floating installation only, your floor can easily be disassembled to allow for replacement. Consult a certified installer.


